How to Install Closures Like a Professional
By Hairbuyers Club
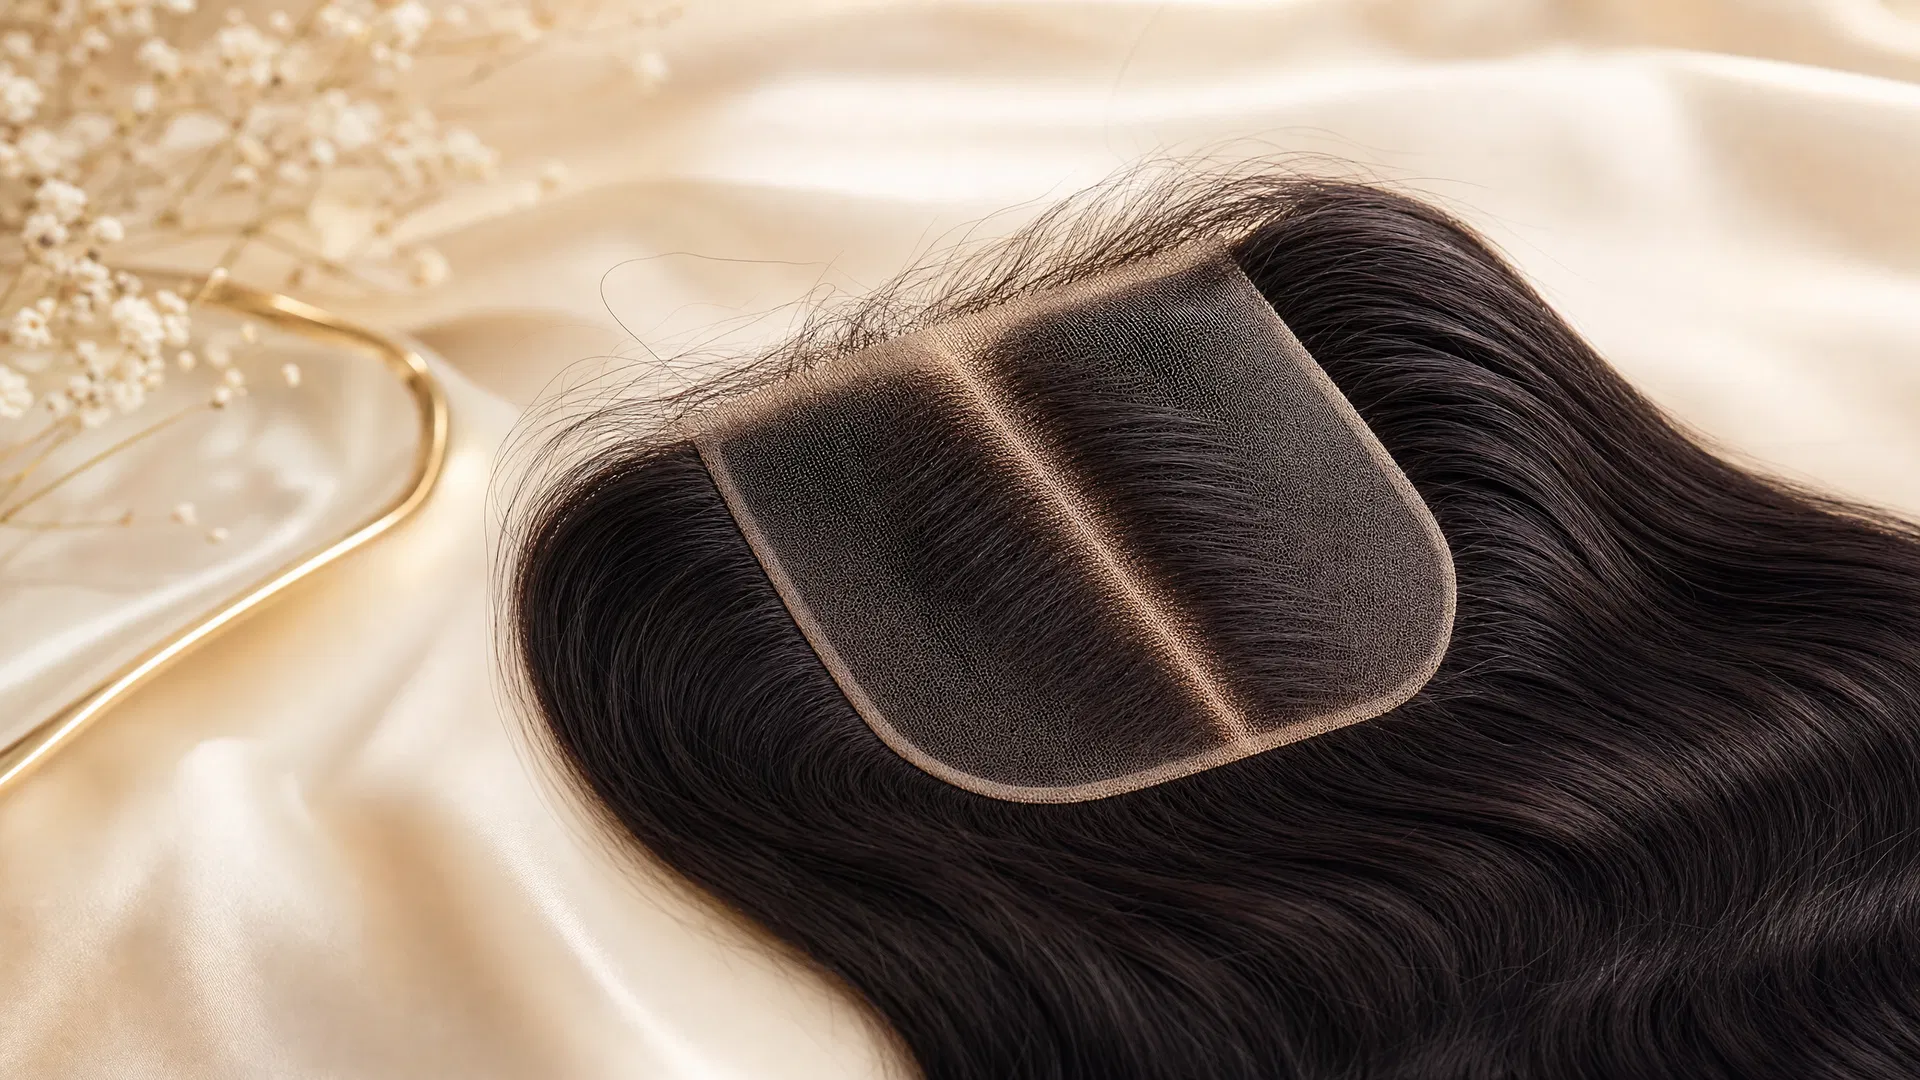
Professional Closure Installation Guide
Installing a closure can seem intimidating, but with the right technique and patience, you can achieve professional-looking results. This guide covers both glue-in and sew-in methods.
Preparation
Before you begin, gather these materials:
Glue-In Method
Step 1: Prepare Your Hairline
Brush your hair back smoothly and apply a wig cap if desired. This protects your natural hair and creates a smooth base.
Step 2: Apply Adhesive
Apply a thin, even line of quality adhesive around the perimeter of your closure. Don't use too much—a little goes a long way.
Step 3: Position the Closure
Carefully place the closure on your hairline, starting from the center and working outward. Press down gently for 30 seconds.
Step 4: Seal the Edges
Once the adhesive has set (usually 5-10 minutes), carefully seal any loose edges.
Step 5: Blend and Style
Once fully set, blend your natural hair with the closure and style as desired.
Sew-In Method
Step 1: Create Cornrows
Create 2-3 cornrows across your hairline as a base for sewing.
Step 2: Position the Closure
Place the closure on top of the cornrows, aligning it with your natural hairline.
Step 3: Sew Securely
Using a curved needle and thread, sew the closure to the cornrows. Use small, tight stitches for security.
Step 4: Blend and Secure
Once sewn, blend your natural hair and style the closure.
Maintenance Tips
When to Remove
Closures typically last 4-6 weeks before needing removal and reinstallation. Signs it's time to remove:
Conclusion
With practice, closure installation becomes easier. Don't be discouraged if your first attempt isn't perfect—it takes time to develop the skill. Consider professional installation for best results.